Quick Start Guide
This guide will show you how to run the demo. This demo allows you to immediately try the TD7740 camera. This guide is written using Windows Operating System.
Hardware necessary
- TDNx016 Board
- TD7740 camera
- STM32F746G-DISCO board
- 1 mini-USB cable
- PC with Windows
Launching the Demo
The EV-STM32F7CAM-DVK is already programmed with the demo. All you need to do is to assemble and supply power.
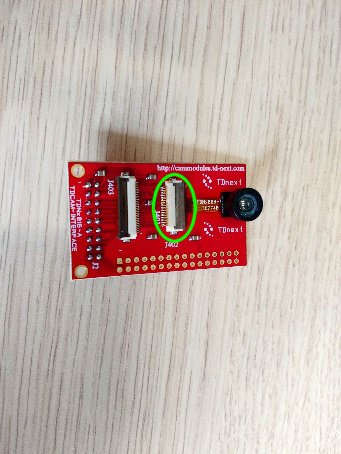
- Plug the TD7740 camera to the TDx016 adapter board:
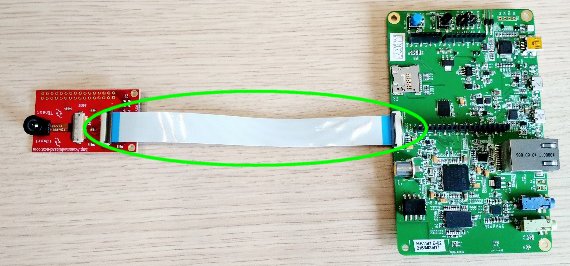
- Connect the adapter board to the Camera Connector of the STM32F746G-DISCO board via FFC cable:
- Plug in the USB Mini cable from the PC to the CN14 connector of the board
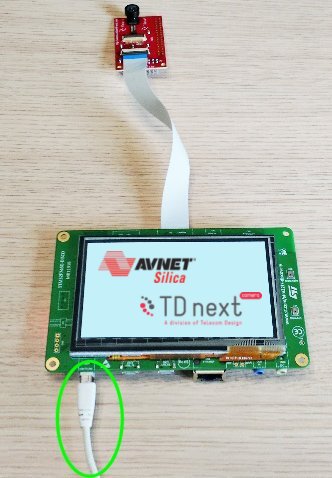
- The demo will automatically start
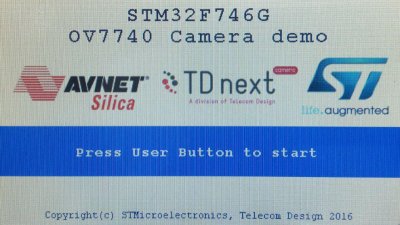
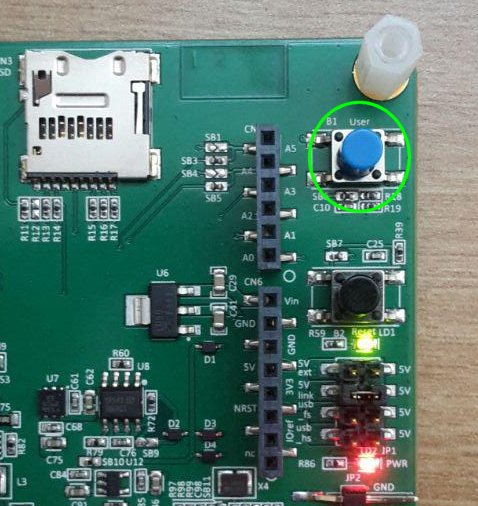
- Press the User Button to see the streaming video from the camera
- The display is touch screen and by touching it in different ways you can interact with the demo
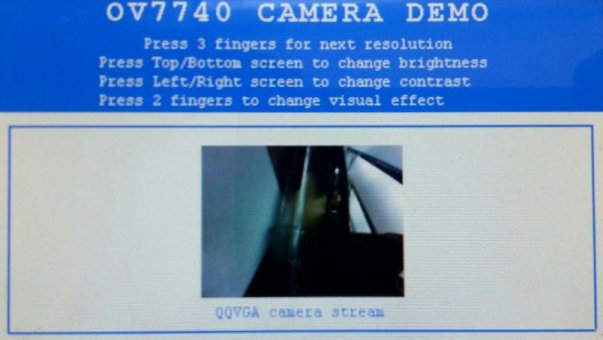
- Press the screen with three fingers to change resolution.
- Press the screen with two fingers to change the effect.
- Press the screen with one finger on the right or left of the screen to raise/decrease the brightness.
- Press the screen with one finger on the top or bottom of the screen to raise/decrease the contrast.
Update the Demo
If the board is not programmed with the demo firmware you can upload it by yourself.
- Download accepting the agreement of the stsw-link009 USB driver from the ST website

Note
In order to get the software it is necessary to have an account on my.st.com website. You can create it here
- Extract and install the driver launching dpinst_amd64.exe if you have Windows 64-bit or dpinst_x86.exe if your Windows is 32-bit. If you don’t know it just go in Control Panel -> System to check the version or if you have Windows 10 go to Settings -> System -> About.
- During the installation accept all the permission requests.
- Download accepting the agreement of the stsw-link004 STM32 ST-LINK utility from the ST website

- Extract and launch the installer. During the installation accept all the permission requests.
Now your Windows is configurated to upload the firmware of the STM32F746G-DISCO board
- Download the firmware Demo from Avnet Silica website
- Plug in the USB Mini cable from the PC to the CN14 connector of the board
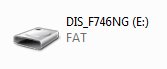
- If all is ok the board will be mounted as a mass storage
- Launch the STM32 ST-LINK Utility, you can find it going to Windows menu start->All Programs->stmicroelectronics
- Click on the connect to the target icon on the toolbar

- Once it is connected click on the program verify icon on the toolbar

- From the window click on the Browse button and find the STM32746G_DISCOVERY.bin file.
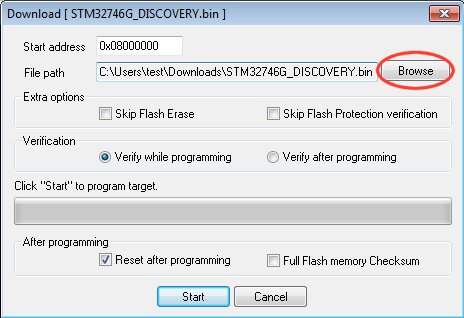
- Check that the options are right
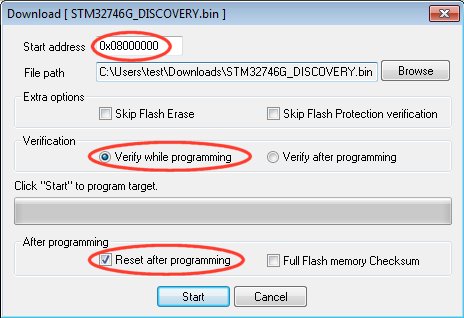
- Click on the Start button to upload the firmware in the board
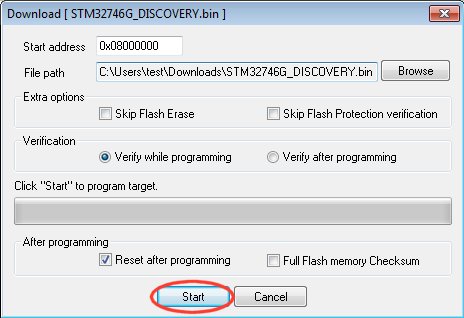
- After programming the demo will start automatically